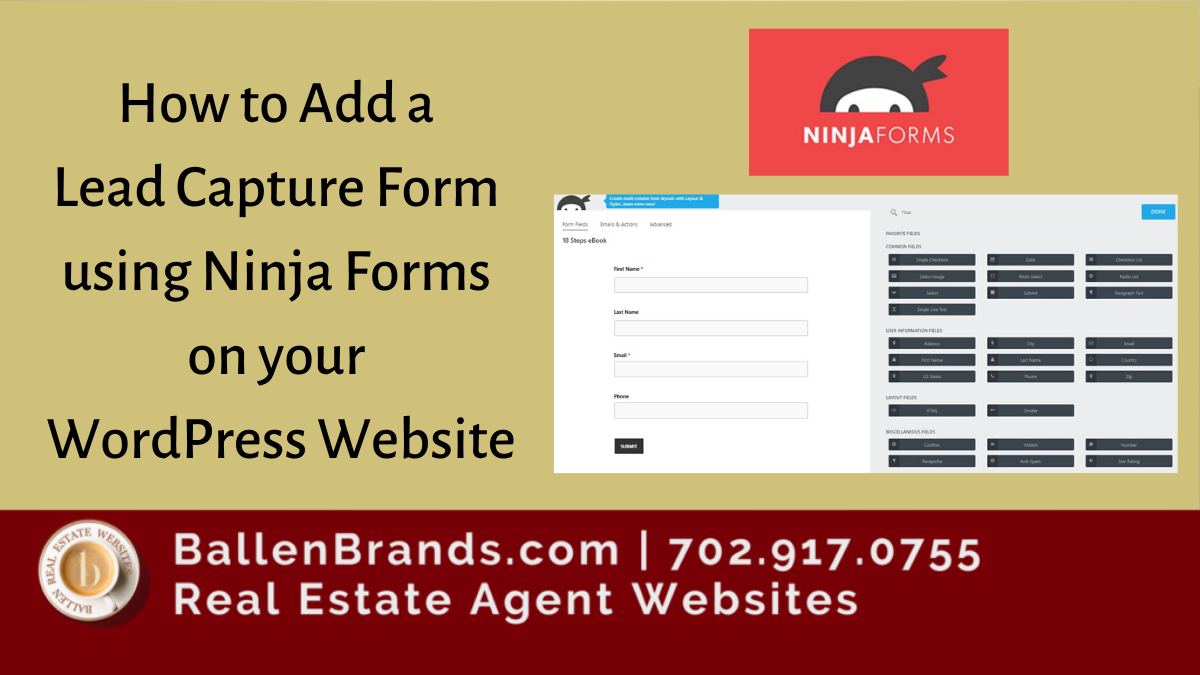
Hey everybody! Jeff Helvin here with Ballen Brands and today I wanted to show you how to add a form on a website in order to deliver a PDF, as a lead capture form offering something of value on the website.
We want to make sure we know who’s downloading that information, and we get this question quite a bit so we want to go ahead and just make this video and make it available for everybody.
Uploading a PDF File
So here we are on the BallenBrands.com website and this is a WordPress website so that’s where I’m going to focus this particular session.
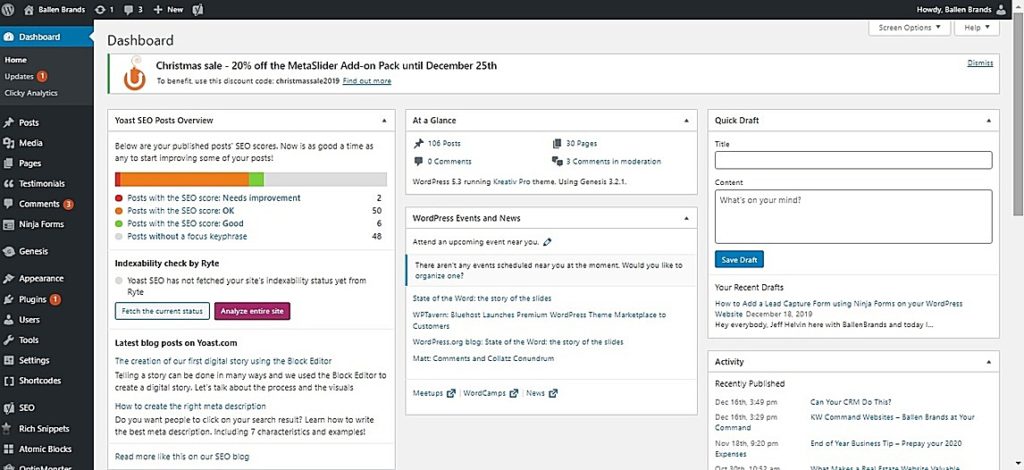
When I go to the WordPress admin, I’m going to go ahead and log in. Once I’m logged in here what we’re going to find is there is a lot of different information on the dashboard. The dashboards are very customizable but we’re going to focus here on forms in particular.
The very first thing we need to do is we need to make sure that the actual PDF file that we want to use is uploaded to the website so that we’re able to deliver that via a link.
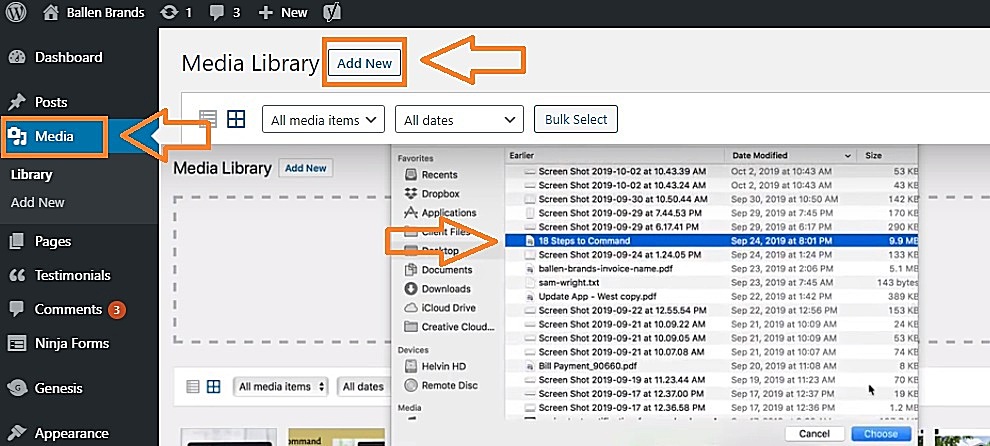
So I’m going to click on media and click on add new, or we can just click under media, add new, and then we’re going to select the file that we want to add.
I’m just going to use a sample file here and go ahead and pull one up that we use quite a bit, which is 18 Steps to Command. It’s a PDF file great for for KW agents. This is a PDF that Lori Ballen had created for Keller Williams agents.
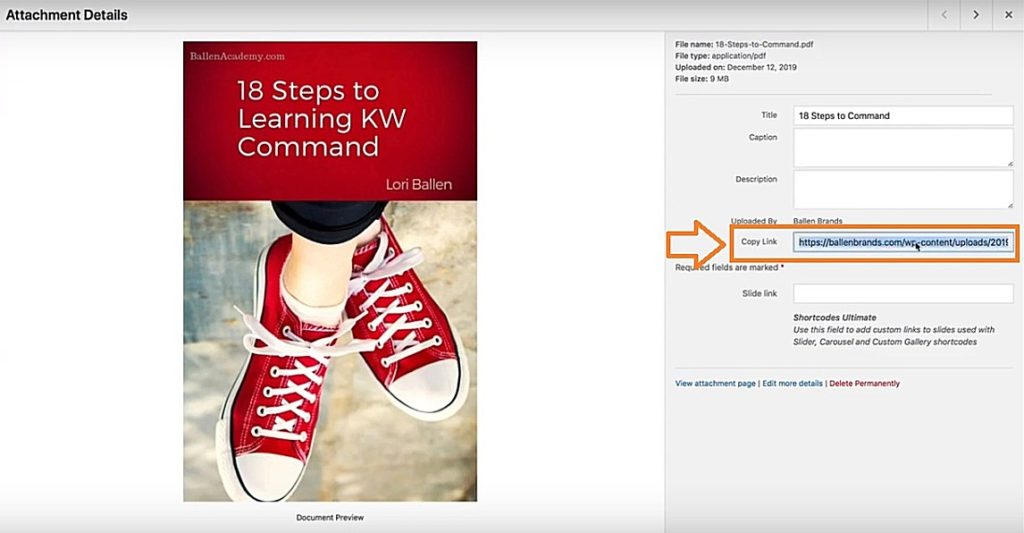
Once we upload that, we can actually grab the link itself. This is the link that we will ultimately be delivering to somebody after they fill out our form.
Related: Real Estate Website Lead Capture Strategies that Really Work
Ninja Forms Plugin
Then the next step is that we want to go ahead and create the form itself. We use what’s called Ninja Forms – it’s a free plugin that has some additional features that you can add on if you felt necessary.
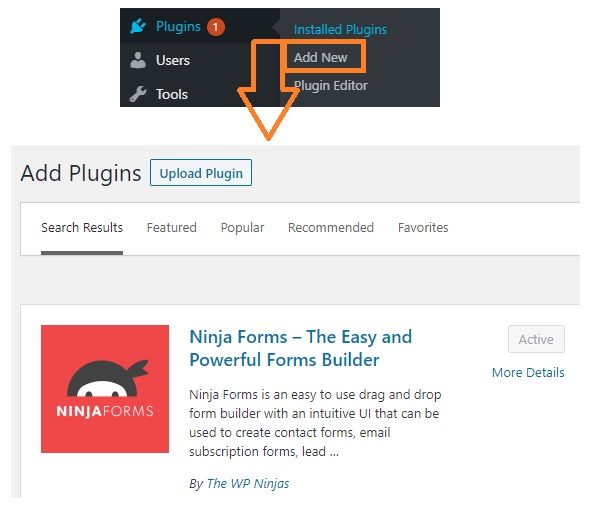
If you don’t have a form program, something like Ninja Forms already, then we suggest you go ahead and go under your plugins and click add new to get that installed.
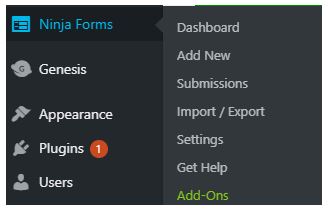
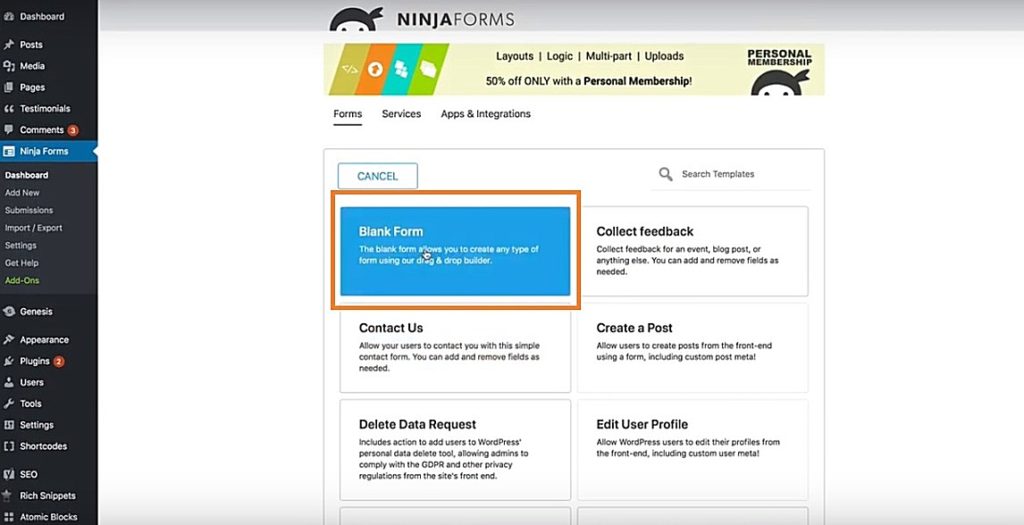
Here we’re going to go to Ninja Forms and we’re going to go ahead and click on add new. They have default ones that we can use.
I’m just going to go to the blank form so we can show you how that works here.
Adding Form Fields
So the first thing we’re doing is adding form fields. What information do we want to collect in order to order to deliver this PDF file?
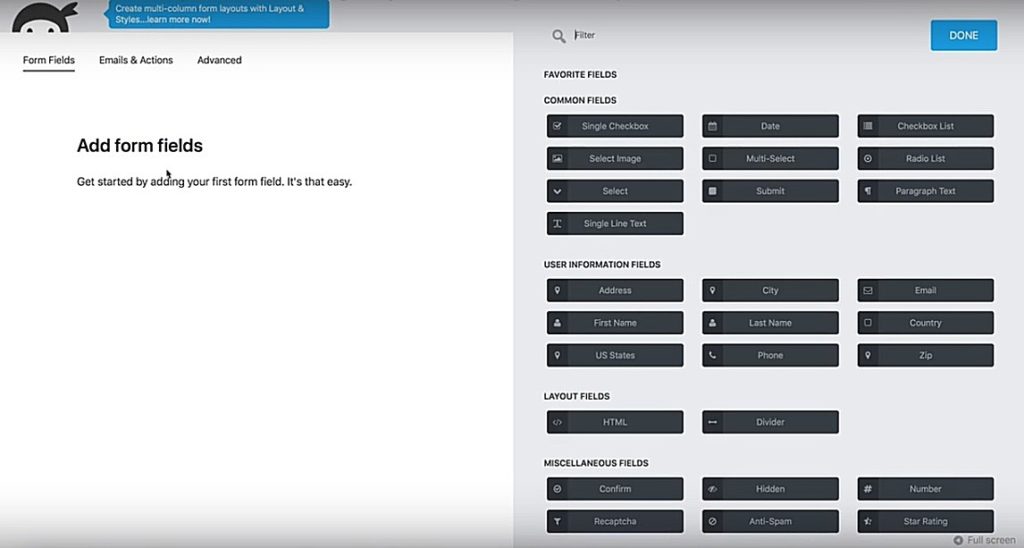
Obviously we want to know who they are so I’m going to go ahead and drag over a First Name and then the Last Name, then let’s say we want their Email Address. We also like to collect Phone Number whenever possible, and obviously this depends on how much information you’re trying to get from them based on what you’re giving to them.
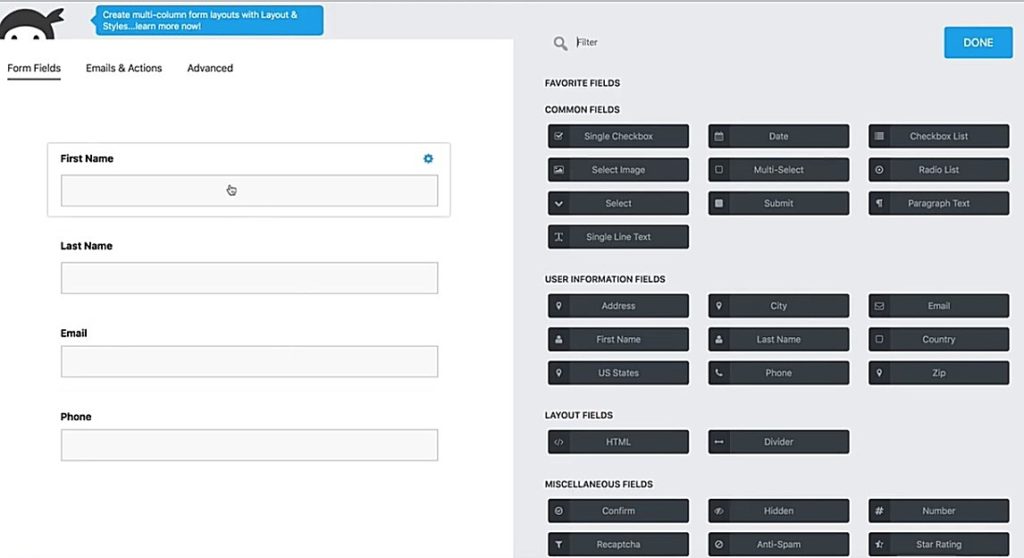
So if it’s a simple PDF and you just want to track how many times it’s downloaded and who it was, Email address may be just fine. If it’s something a little more sophisticated, like financial advice or something similar to that on your website then you might want to ask more specific information.
The more information you ask, typically the more they consider it a barrier to entry so you’re likely going to have fewer people that fill that out because they’re not necessarily interested enough to give you that, but a lot of people give you an email address at a minimum.
So now that we have that, next to each option like First Name, we have this little settings button so we can decide whether it’s required or not.
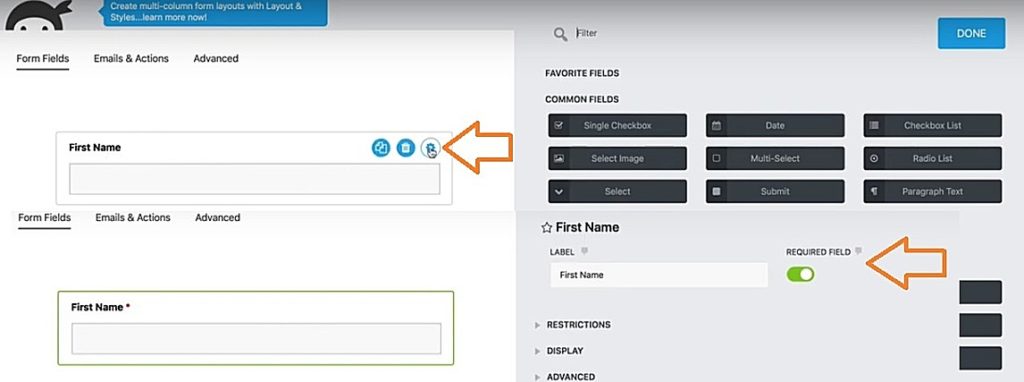
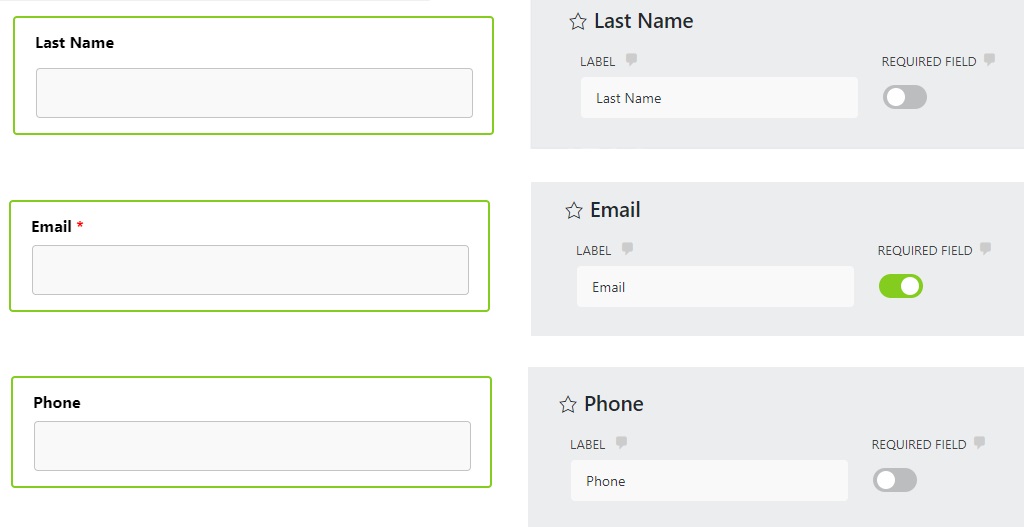
Maybe we don’t require Last Name, but we definitely want their Email Address so we’ll go to require there, and again the Phone Number maybe you don’t require if you want to get more people downloading the PDF. So then we’re going to go ahead and hit done there.
Emails & Actions
Next we’re going to go to emails and actions and by default we have this success message, we have an admin email address and we have a store submission option. What this is saying is this is going to store the actual lead information that can be accessed through your WordPress admin.
Admin email is going to be an email notification that sends and then success message is what the actual end-user sees.

We’re going to go ahead and click on edit for each of these. We’re going to start down here with store submission. It’s pretty straight forward that we’re just going to go ahead and store that so we’re good to go.

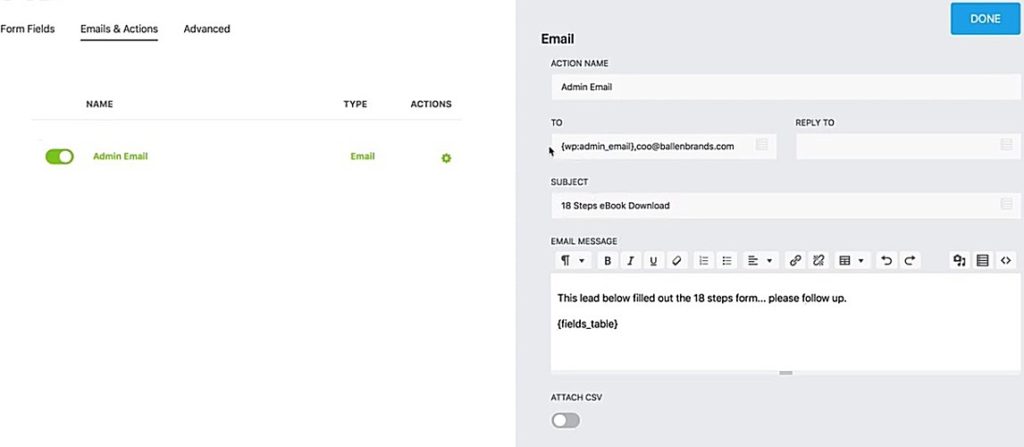
We’re going to go to admin email next where we’ll see who it’s set to, and by default it’s showing that it’s going to go to whatever the email address is on file for the WordPress admin.
If you’re an individual owner and that’s set to you, that’s just fine. If it should go to somebody else, maybe you have a team member you’d like that information to go to, you can change that here, or you could also add commas and add additional people as well.
Then we can go ahead and customize the subject line. We do like to update the subject line from the default, and here we might want to say “18 Steps eBook download” so we know which one it is because we have multiple forms on the website that are feeding us information.
Then you have an email message, which by default it has this little marker that says “fields table” which basically just means it’s going to feed you the same information that you are collecting on your form. You could also put something more specific to be sent with each notification.
There are some advanced fields and other things you can do, but I’m not going to get into that because they’re not required or necessary unless you’re trying to do more advanced functionality.
Then the last one is “success message.” When I go to the success message, by default it just says “your form has been successfully submitted.” Think of it this way – if this particular lead is just interested in the e-book, they don’t want to be told they just submitted a form. Obviously they can see that, so what we like to say is “Congratulations! You have just unlocked your eBook!” – something like that.
Then what we do is, I remember I had already copied from the media section what we’re adding so we can simply do a click here to download.
If we’re centering it, we could do that and then basically we’re just going to make it a link so we can click this little link and we paste in that URL that we had copied. Then we have the option to open it in a new window if we need to, but that’s not necessary here so we’re going to put insert, and there you go.
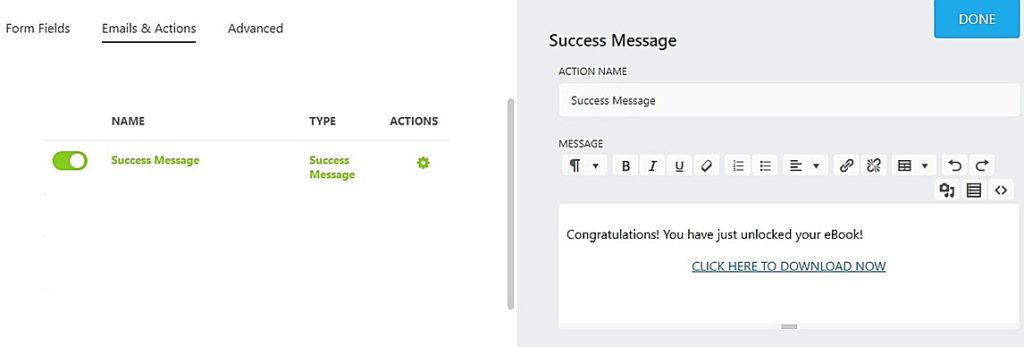
Now you can make this a lot more sophisticated and add media, maybe a picture of the cover of the e-book, and make that a link, but for the purpose of this demo I just wanted to walk through these basic steps.
So now I’m going to go ahead and click done and publish, and we can give it a title and hit publish. So now that this is published I can exit out.

Related: Real Estate Website Lead Capture Strategies that Really Work
Landing Page
The only thing that we have left at this point, is what page actually has the form to send them to.
The form doesn’t actually exist anywhere on the website so we’re going to go ahead and go to pages, and click add new. We’re going to call this 18 Steps eBook. Then in the Gutenberg interface for WordPress, we’re going to simply add a content block. You’ll actually see I can type in Ninja Forms because it’s a common block that we can use and all I do here is just select the appropriate form.
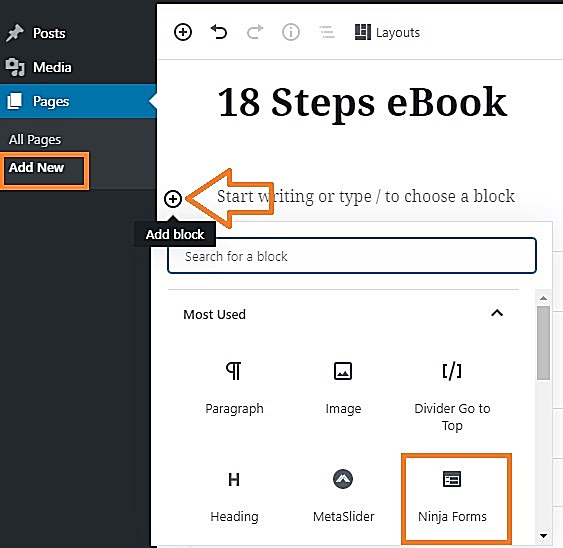
So now I’m going to click on 18 Steps eBook and it’s going to actually drop in the form itself.
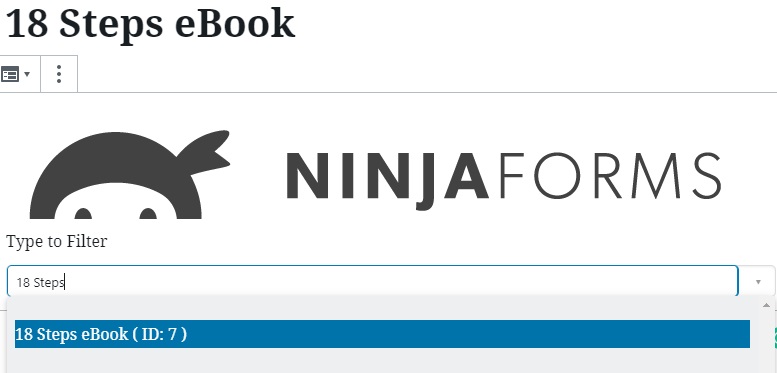
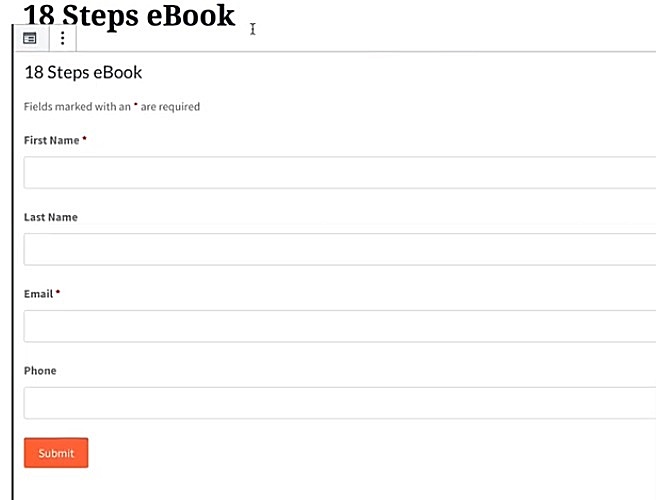
We can have content above and below it, but right now it’s just a simple form we can preview.
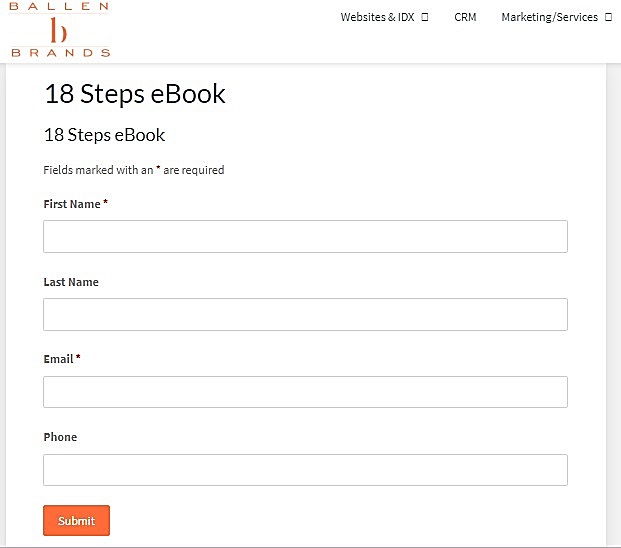
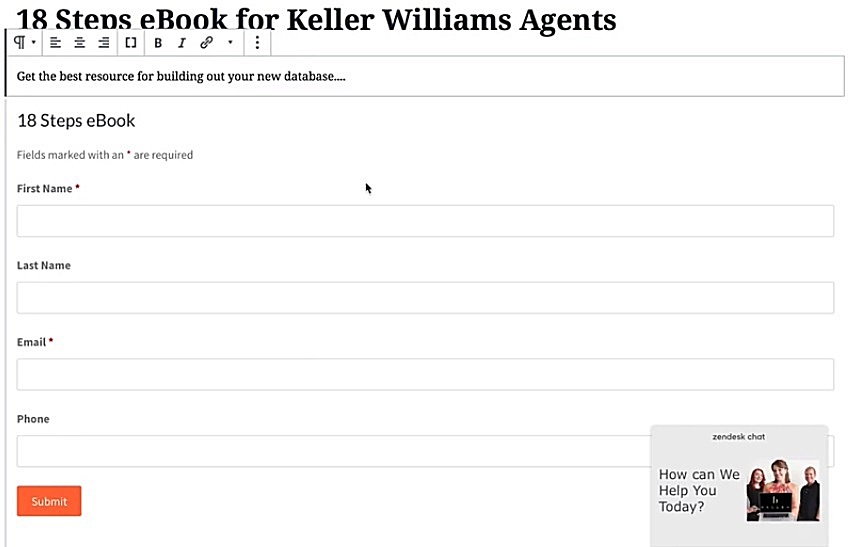
So here we might go ahead and do 18 Steps eBook for Keller Williams Agents.
If I wanted to add more content above the form, or below, I can go ahead and add a paragraph block and I can type in something to lead into the form.
Published Form
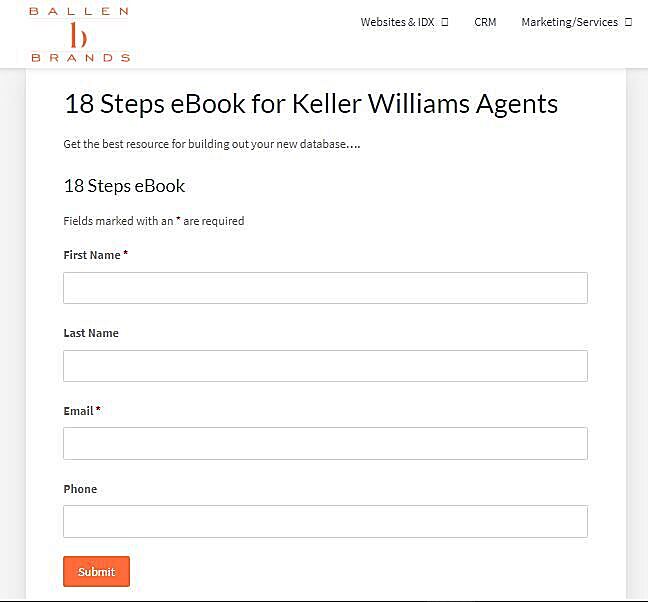
We have now uploaded a PDF file, we have created a form to actually collect the lead information and then at the end of that form we deliver them the PDF with an immediate download. That should help you here with some of your lead data and capturing leads for conversion on the website.
Related: What Makes a Real Estate Website Valuable
Have Questions? Ask Ballen Brands!
If you have any questions, by all means, please reach out to us at Team@BallenBrands.com or of course our website BallenBrands.com
