Hello! Jeff Helvin here with BallenBrands and today I wanted to show you a little video on how to connect email lead notifications into your CRM.
Zapier – Most Popular Middleware Tool
We like to use Zapier for many of our integrations because it’s one of the most popular “middleware” tools out there that connects one system or database to another.

Some of the challenges we’ve run into is that not all third-party systems integrate with Zapier as they haven’t programmed the code that it takes to work with Zapier. This means we’re sometimes left without an option to automatically route leads directly, but Zapier offers a way to use email lead notifications we’re sent to connect to our CRM.
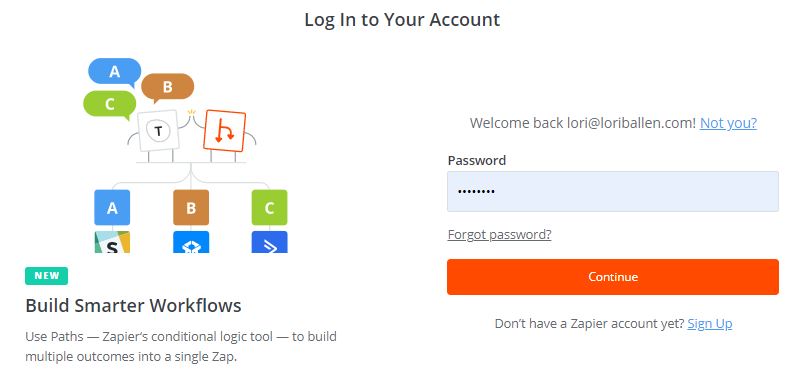
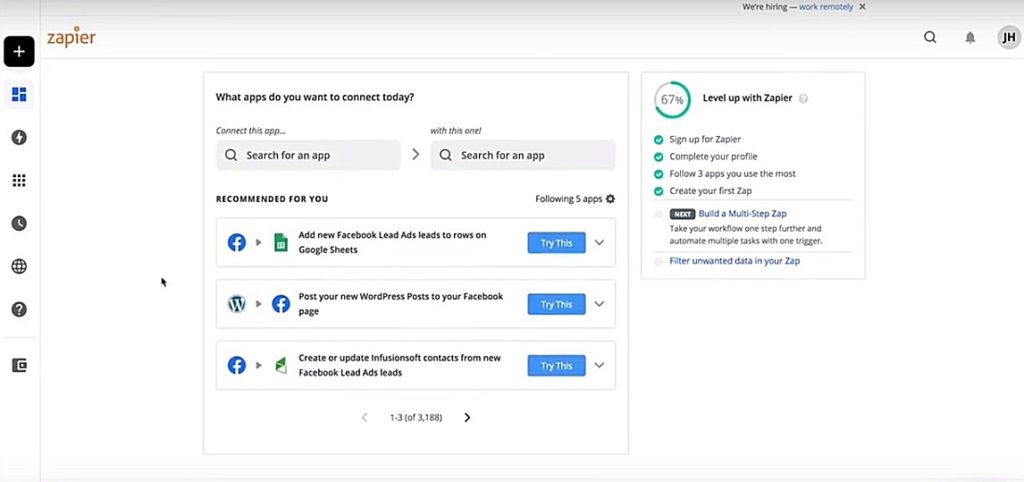
So I wanted to show you how we’re able to do that with Zapier. If you haven’t used Zapier before you’ll, of course, want to set up an account.
Related: How to Receive Text Notifications for New Leads Using Zapier
Create a New Zap
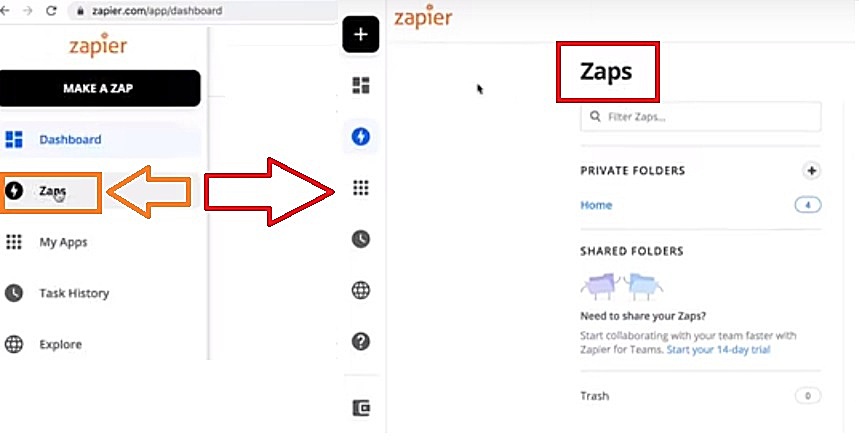
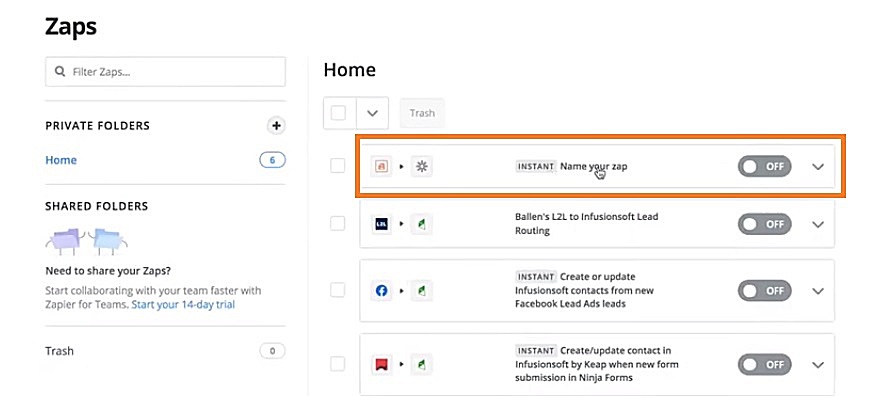
Once we have an account established we’re going to go into Zaps. Then we’re going to create a new zap.
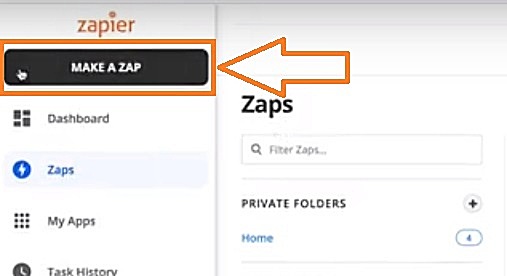
Here I’ll go ahead and just click on “Make a Zap” and we’ll specify what we want to do when an email comes in.
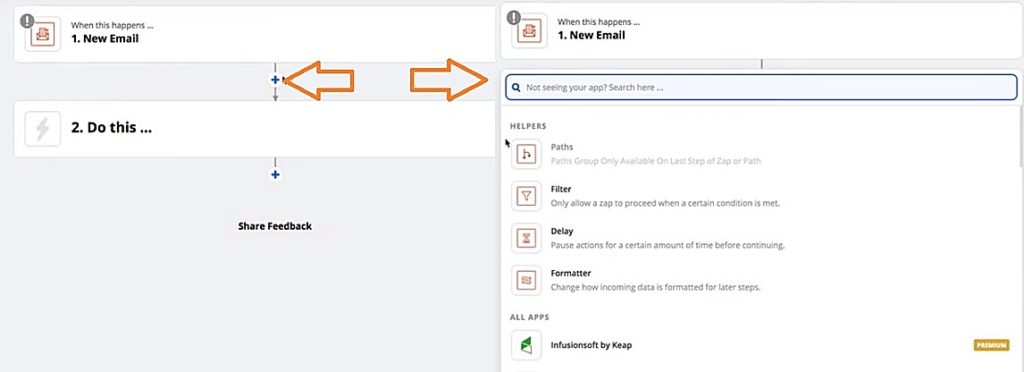
Email Parser by Zapier
When I type in “Email” you’ll see there are a number of email programs that can be connected, but in this case we want to do “Email Parser by Zapier”.
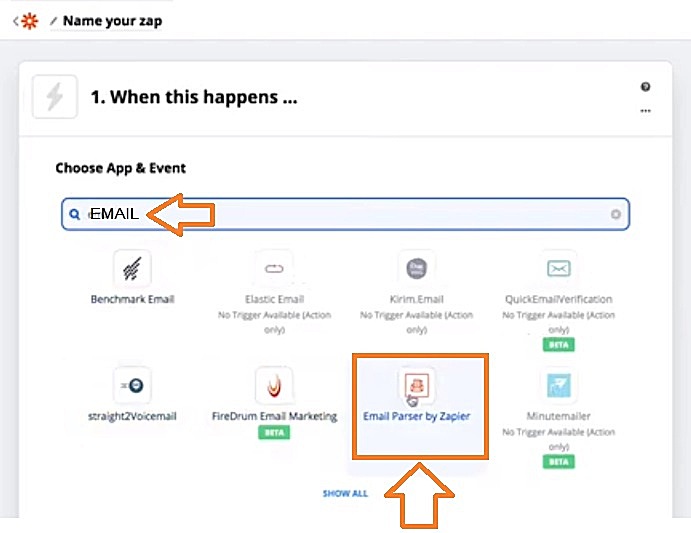
What it’s telling us right now is we need to actually sign into “Email Parser by Zapier” as the email parser platform is actually separate system offered by Zapier in its own separate interface.
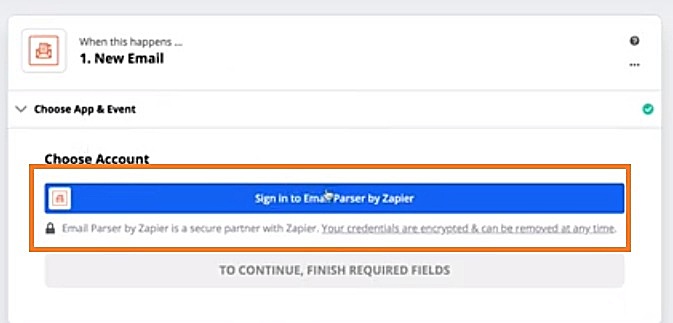
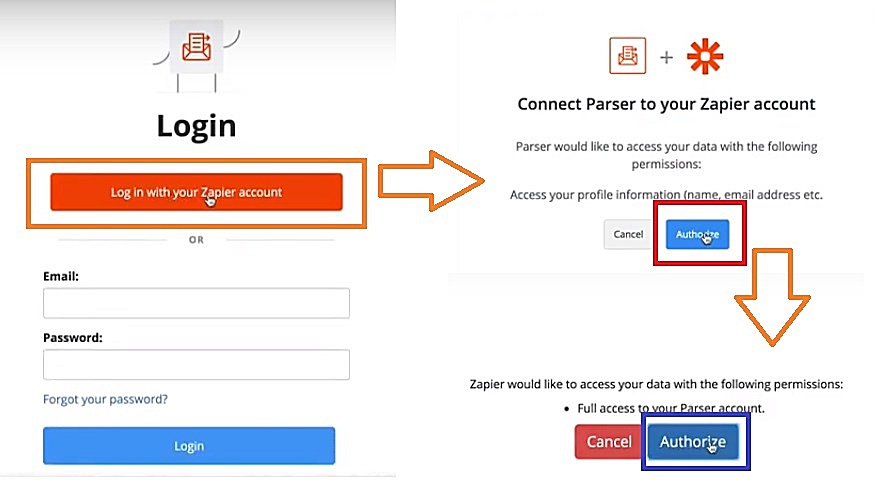
Next we’ll click to sign in to Email Parser by Zapier and we’re going to click “Log in with my Zapier Account.” It then asks if you want to connect your Parser to your Zapier account and we’ll go ahead and click “Authorize”.
It will then ask for permission for Zapier to access your data with the following permissions and we’re going to go ahead and click authorize.
Now my Parser is actually connected so it is available when I go back to the Zap that I was working on.
Related: How to use Zapier to Automate YouTube Videos to Social Media
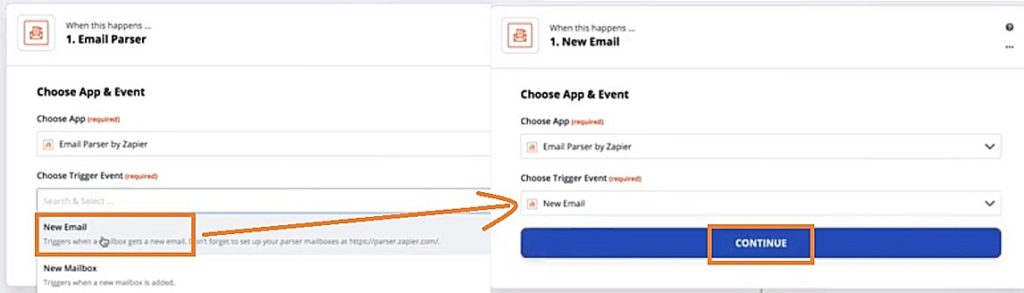
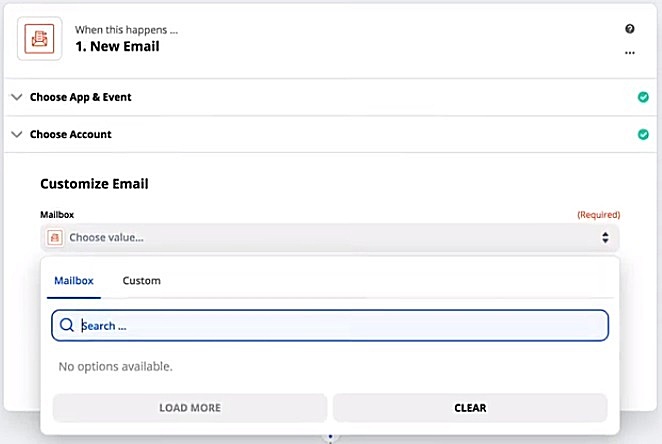
Customize New Email
We will see here that it says when a new email comes in we want to customize the emails. So I have to choose a mailbox now, which we don’t actually have set up yet. That’s part of what we need to do in the Parser Zapier.
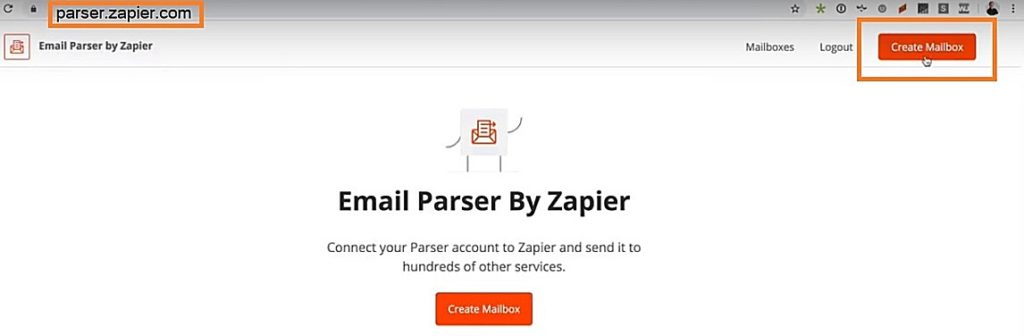
Parser.Zapier.com (Create Mailbox)
I’m going to go to parser.zapier.com and we’re going to click on “create a mailbox.” Then it’s telling us it is waiting for us to actually send an email to this custom email address that it just gave us.
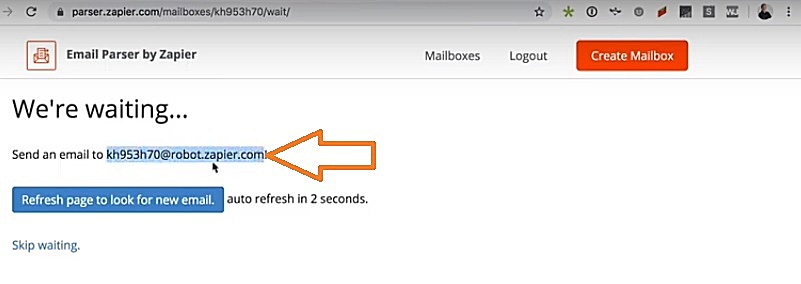
So I’m going to go ahead and send a test email here. This email address was actually created for just our account specifically, so nobody else is going to have this – it’ll be different for everybody.
So now that I just sent that email we’re waiting for it to actually come into the Parser box. Now it has so what we’re able to do here is we’re going to configure what fields in the email we’re trying to get into our CRM.
we can change the custom email address to something that’s a little easier to identify. So let’s say for example you have three different lead sources or three different email notifications, you can actually name the box something more appropriate.
Related: Convert More Traffic with Popup Offers
Mapping the Fields for New Mailbox
In this case, I’ll just do BallenTest@Robot.Zapier.com and this ultimately is the email address that you will use on your lead notifications settings.
So where it says highlight the text you’d like to extract, you’ll give each one a name so I’m highlighting the first section and I’m going to call this First Name. Now it changed what is called the variable.
So then we’re going to go and define the rest of the fields we want to collect.
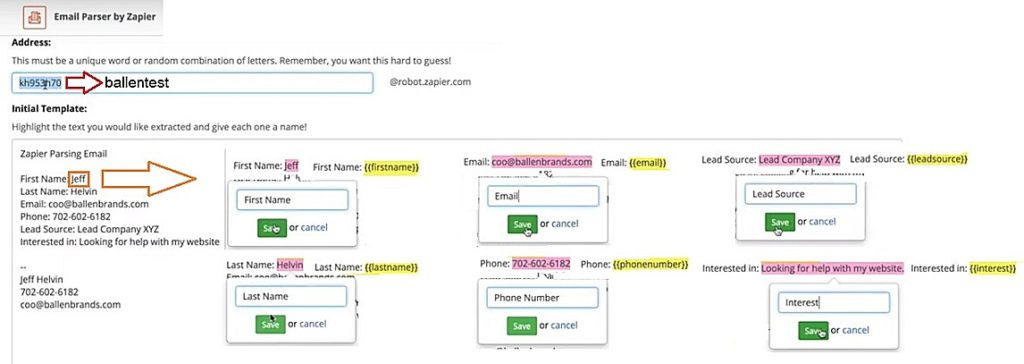
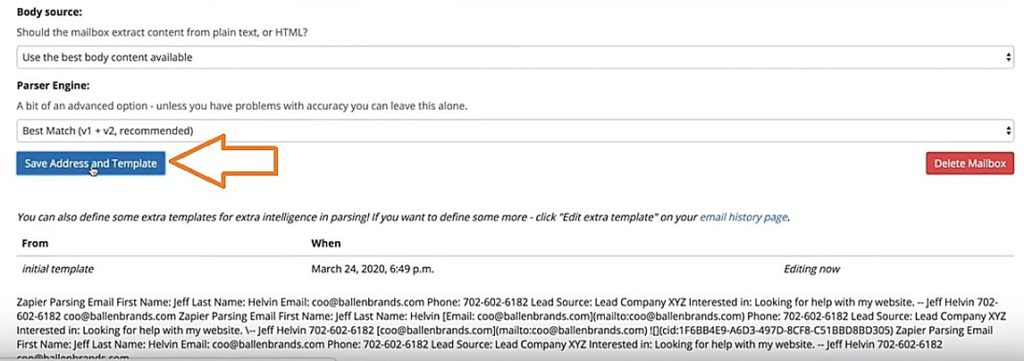
It also has my signature file, but I don’t need to do anything with that, of course, that’s just extra information. What we’re telling it to do is take what’s after the first name field and use this parser to take whatever is in there and put it into our system.
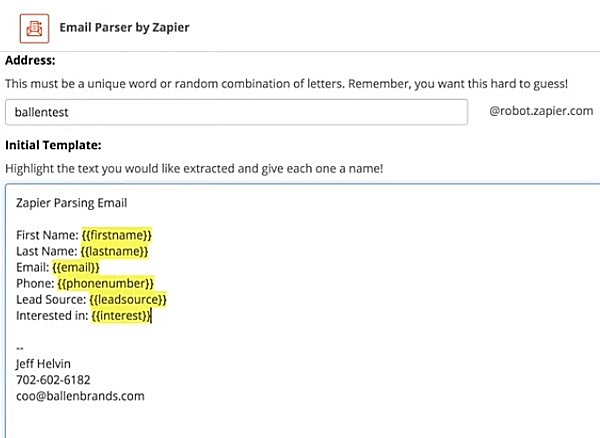
You’ll also see fields for body source and parser engine, but we want to pretty much leave those alone unless you have problems then we can get more advanced, but otherwise we’re just going to go ahead and click Save address and template.
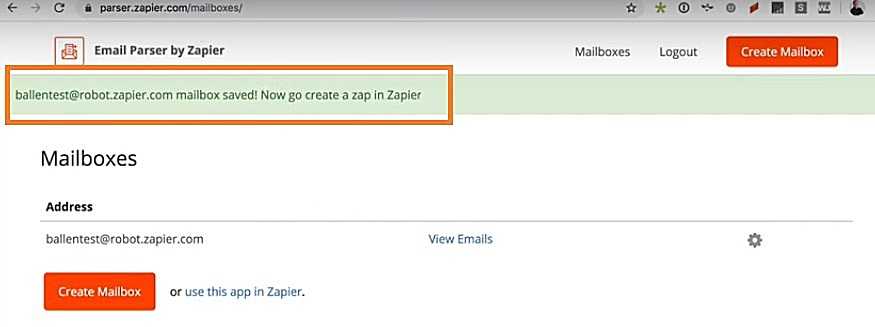
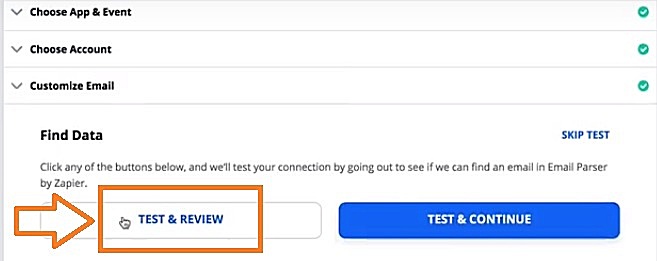
Customize Email, Find Data, Test & Review
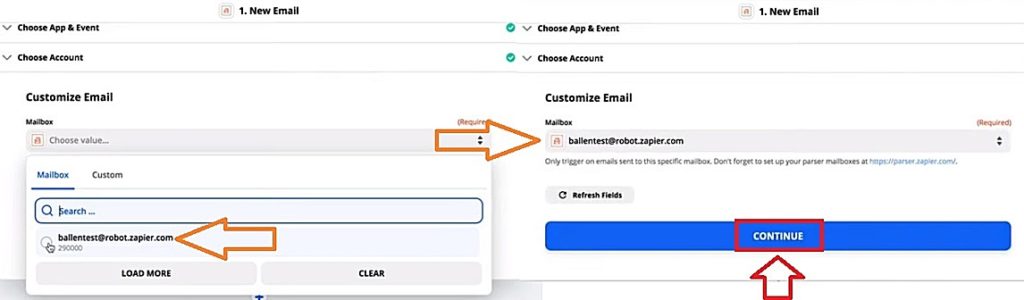
So now we can go create the zap in Zapier. I’m going to go ahead and go back to Zapier and I’m going to reload this so that we have the email in here. Now you’ll see it has my BallenTest email mailbox in there so I’m going to select that again. You may have multiple mailboxes so that’s why we go through this step – then we’re going to hit continue.
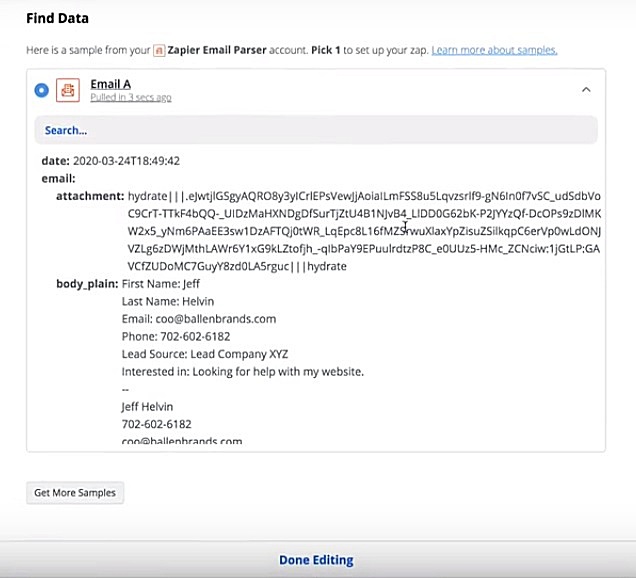
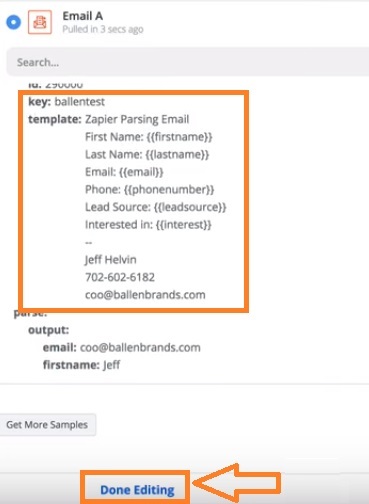
We’re going to go find data and we’ll do “test and review.” It pulled in an email that came in. It’s pulling in the full value of the attachments and with the different body contents.
What we’re looking at is our template and everything else we don’t need to worry so much about. I’m going to click “Done Editing.”
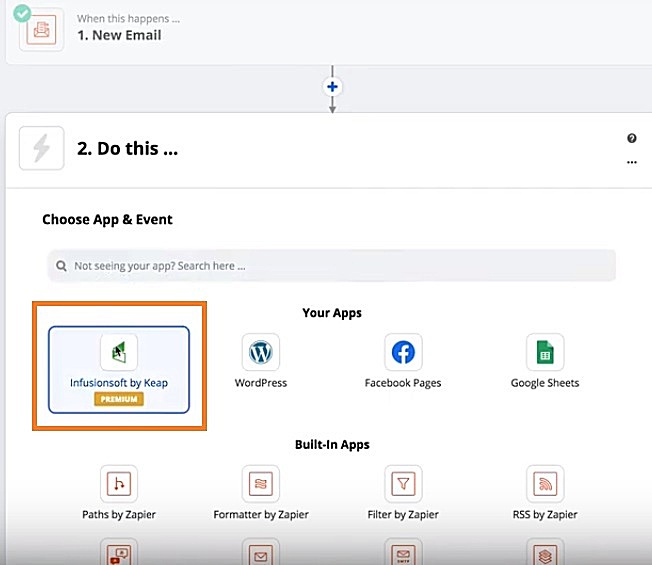
Infusionsoft by Keap (CRM)
So then we are going to use this now as we use Infusionsoft. Here I want to create or update a contact when information comes in from the Zap so I click on Infusionsoft.
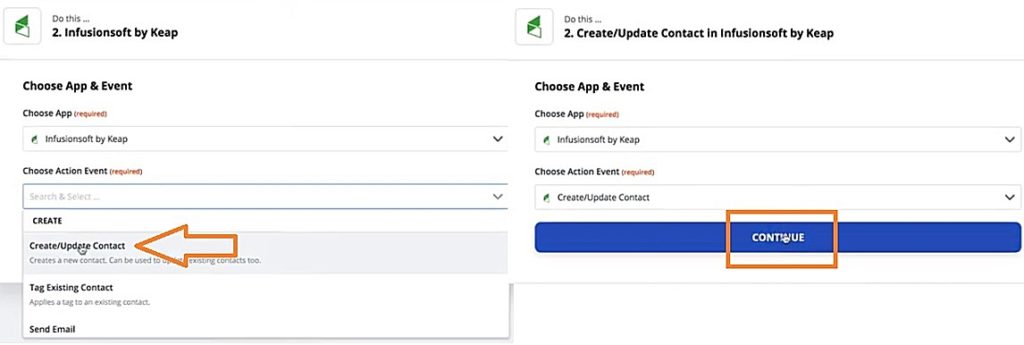
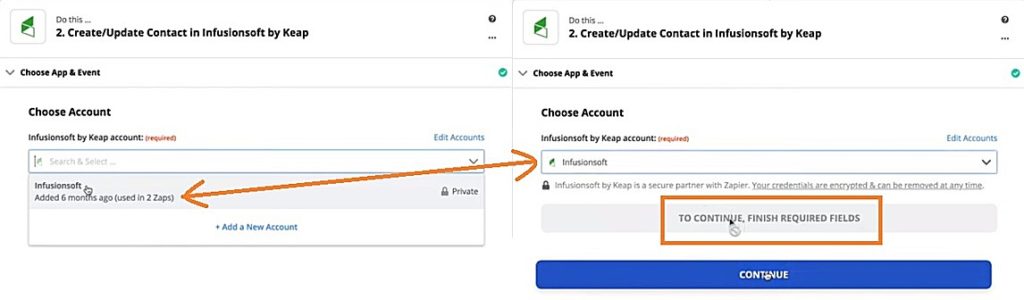
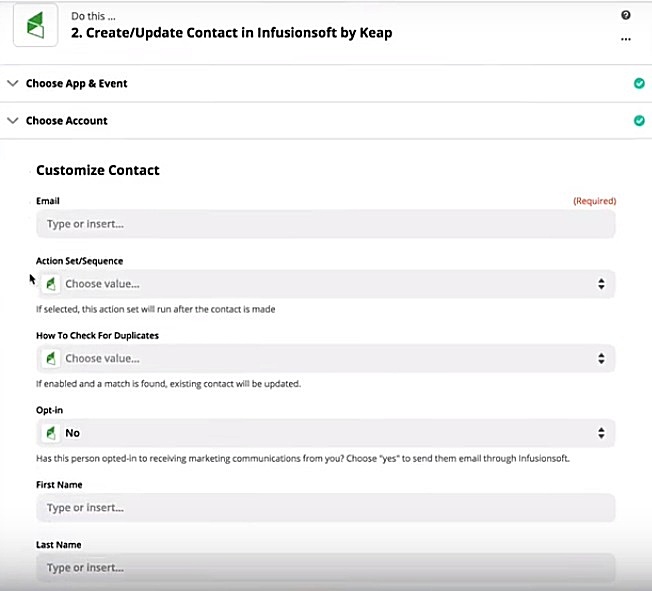
I already have this connected to my account, but if this is the first time you’re doing this, it’ll pop up a box that says “Please connect your account” and it’ll do the authorization, but in this case I already have mine set up. Now it’s saying we want to use email so we look at which field we want to transfer for our email. If I click on the box you’ll see these little icons mean it’s pulling from our parser so I’m going to click on the show all options and I’ll go ahead and search for email.
Mapping using Parsed Output Fields
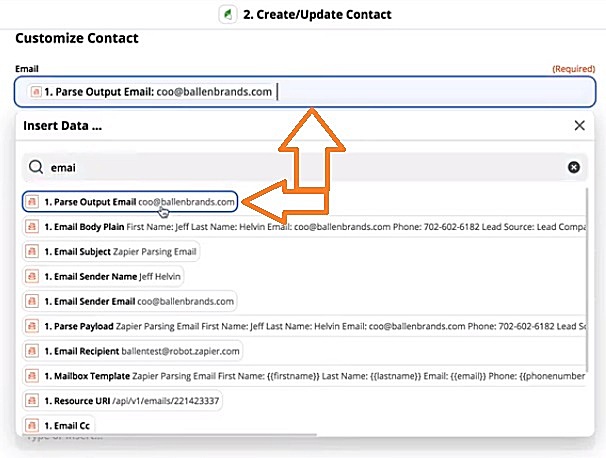
So in here, I’m looking for my actual parsed email. It has an option of “email sender” so I could use that because that’s accurate, but if email sender was me since I was sending it to myself, but maybe it’s from your third-party lead source so that may not always work.
What we’re looking for is the actual parsed out fields that we did and this has parsed out email. So I click on that and it gives me a sample what email is going in there.
Here I want to check for duplicates, but understand these are all specific to your CRM so what I’m seeing here is going to look different than what you see.
For first name I’m going to go ahead and do a search for “first” and we’ll see here parsed out first name and it shows my name “Jeff” so I know that’s the correct field. I’ll continue to do this for the rest of the fields I want to pull in.
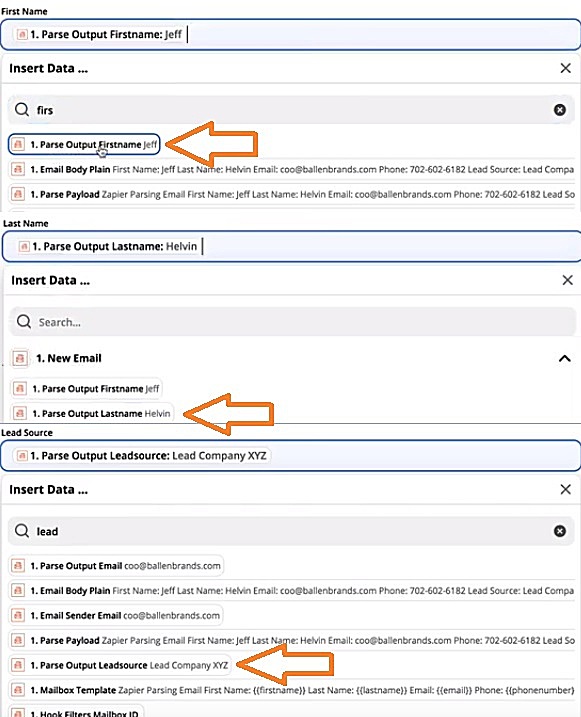
Once I’m done with that, we hit “Continue,” then we click “Save” and we turn this app on and it should be automated from that point forward.
Don’t Want to Do This Yourself? Let Us Do It For You!Conclusion
Every once in a while there are some challenges with a system not connecting or with a certain application. Maybe your parsers are a little off, but don’t get discouraged, definitely take a look and try going through these steps. This is a great way to help automate leads being generated going right into your CRM so that we don’t have to worry about copying and pasting information, or doing that extra legwork. Or even better if in the CRM we have automated campaigns running after they come in, then this obviously is a much quicker way to get them into those campaigns.
Related: Infusionsoft Has Done it Again with Lead Capture
Have Questions? Ask Ballen Brands!
If you have any questions, by all means, reach out to us Team@BallenBrand.com or you can visit our website at BallenBrands.com.